
How to pack a backpack for a day hike
Build a balanced, comfortable day-hike load with practical layering, food, water, navigation, and safety essentials. Smart packing keeps every item accessible when it matters.
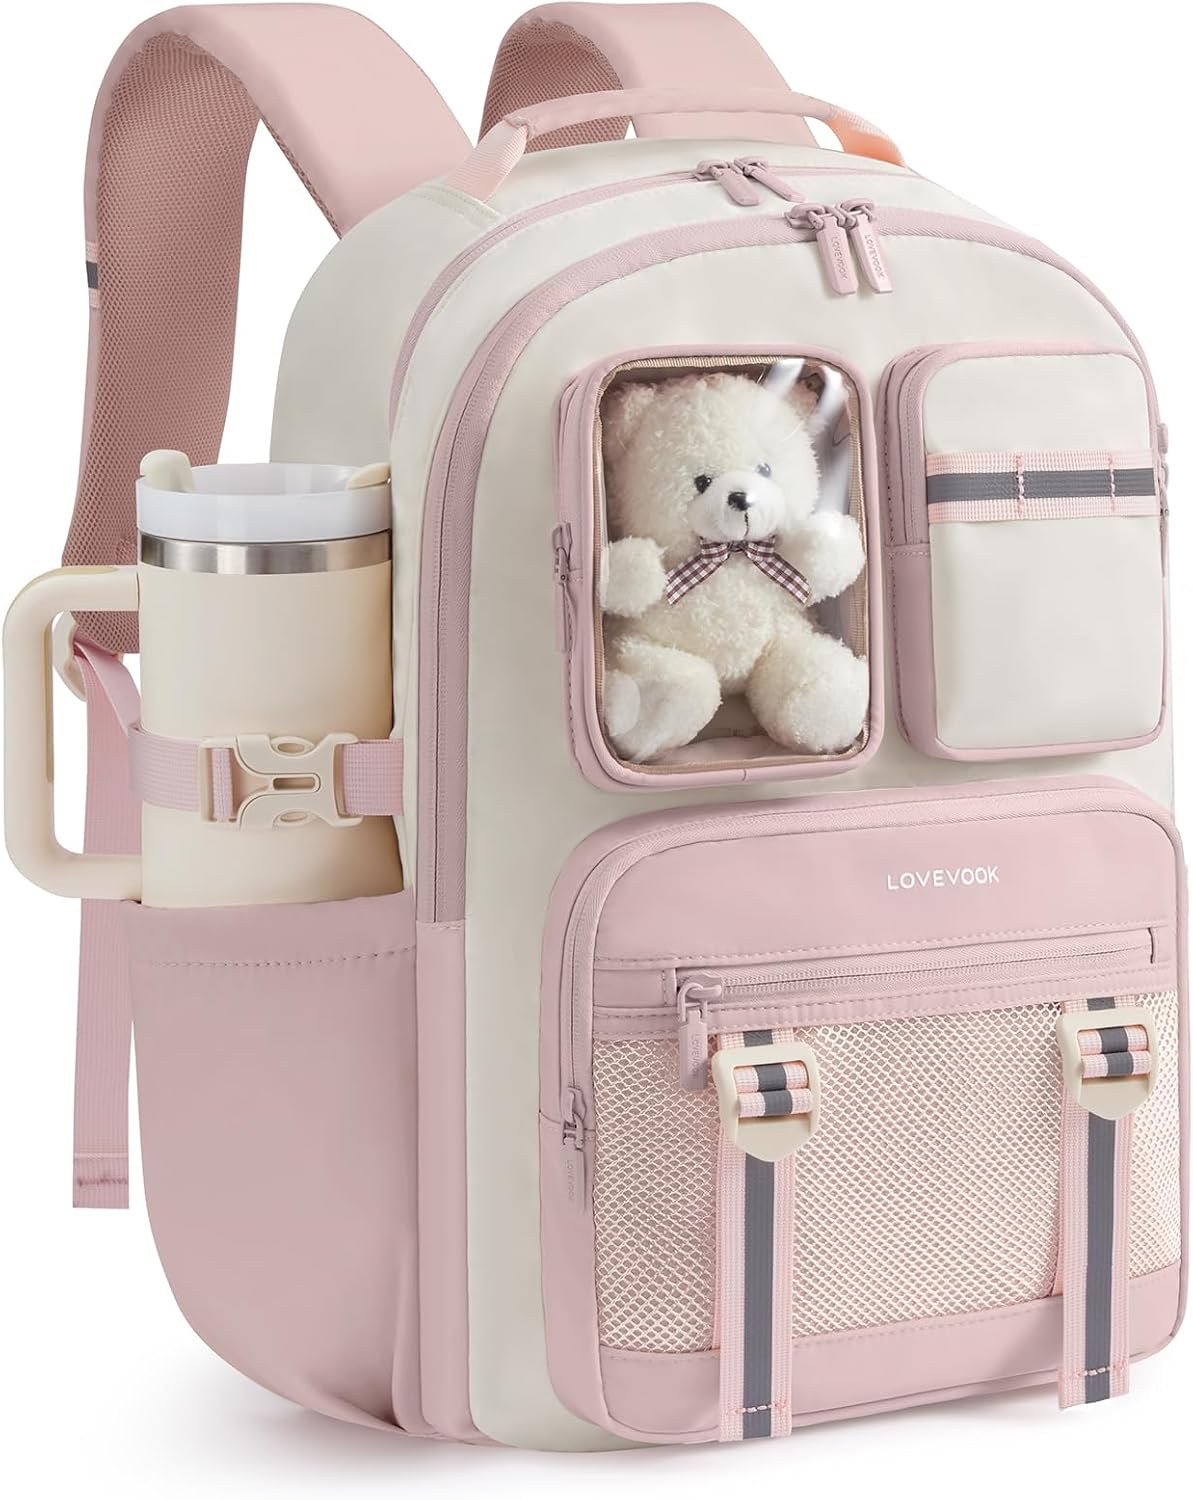
How to pack a backpack for a day hike
How to pack a backpack for a day hike: place heavy gear close to the back and midway up the pack, keep water and rain protection accessible, store soft items against the back panel, and use small pockets for navigation, snacks, first aid, and a phone. A balanced load reduces shoulder strain and makes trail stops easier.
Quick picks for a balanced trail pack
These gear categories create a reliable day-hike system. Match volume and equipment to trail length, elevation, weather, season, route difficulty, and local conditions.
20–28L daypack
Enough room for food, water, layers, and safety gear without encouraging a bulky load.
Compare daypacksTwo water bottles
Separate containers make rationing simpler and provide backup if one bottle leaks or gets lost.
See hydration gearPackable shell
A lightweight waterproof layer belongs near the top of the pack for fast access.
Browse rain shellsHow to pack a backpack for a day hike: the essential loadout
Day hiking calls for preparedness without excess. A compact pack works best when every item supports comfort, navigation, weather protection, hydration, energy, or emergency response. Trail conditions can shift quickly, so a dependable base layer of equipment gives a short outing more resilience.
- Water and a backup purification method
- Calorie-dense snacks and a simple lunch
- Map, compass, charged phone, and power bank
- First-aid kit, whistle, and emergency blanket
- Rain shell, warm layer, hat, and sun protection
- Headlamp, even for a planned daytime return
- Small repair kit and trash bag
- Identification and relevant permits
A well-organized backpack helps keep the trail day smooth. The broader backpack guide also covers fit and compartment planning, while a lightweight summer backpack can serve short, warm-weather routes.
How to pack a backpack for a day hike in the right order
Pack placement matters as much as the item list. Heavy gear close to the spine gives the pack a stable center of gravity. Frequently used items belong in outer pockets or the top zone. Soft layers cushion the back panel and fill awkward spaces without creating pressure points.
Start with soft, low-use items
Place a spare insulating layer, emergency blanket, and camp-seat pad in the bottom area. These items create a stable base.
Set heavy items against the back
Position water, food, and dense gear close to the back panel and between the shoulder blades. Keep weight centered.
Keep weather gear near the top
Store a rain shell, warm hat, and gloves where a fast stop can reach them without unpacking the full bag.
Use pockets for immediate needs
Place map, compass, snacks, sunscreen, whistle, and phone in secure outer or hip-belt pockets.
Compress and test the load
Tighten side straps, lift the pack, and walk briefly. Shift any item that pulls weight away from the back.
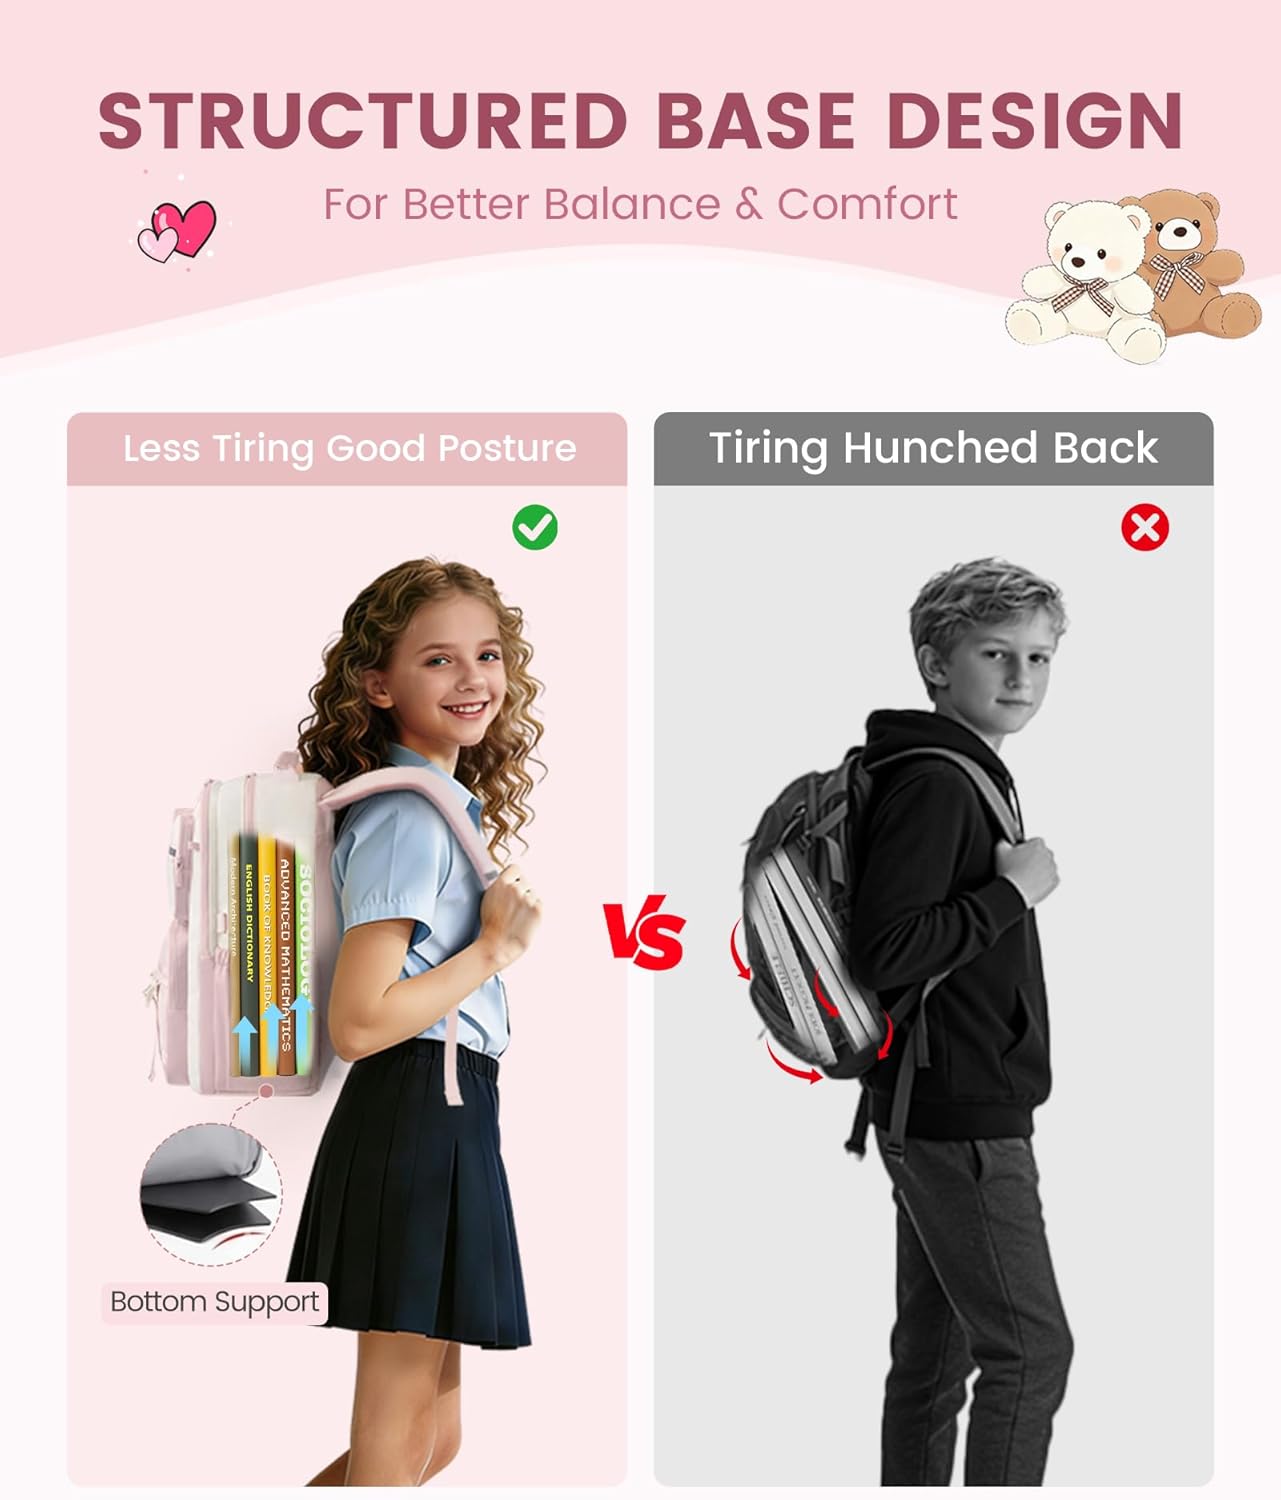
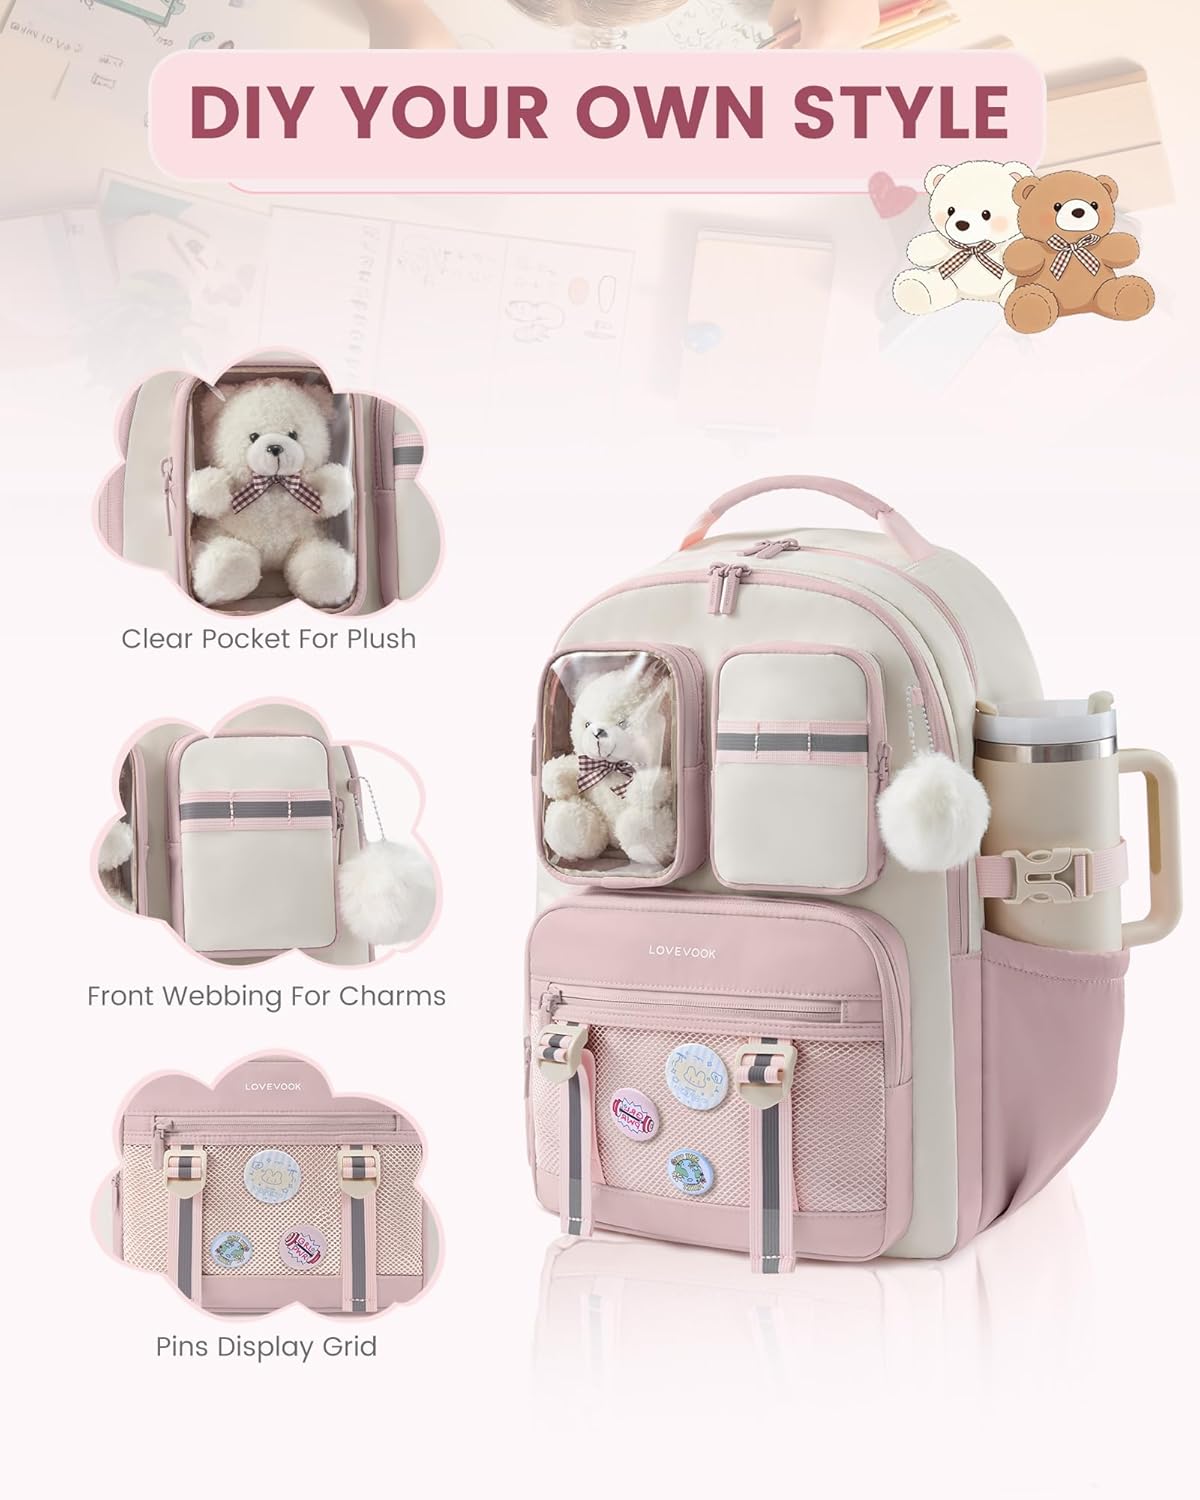
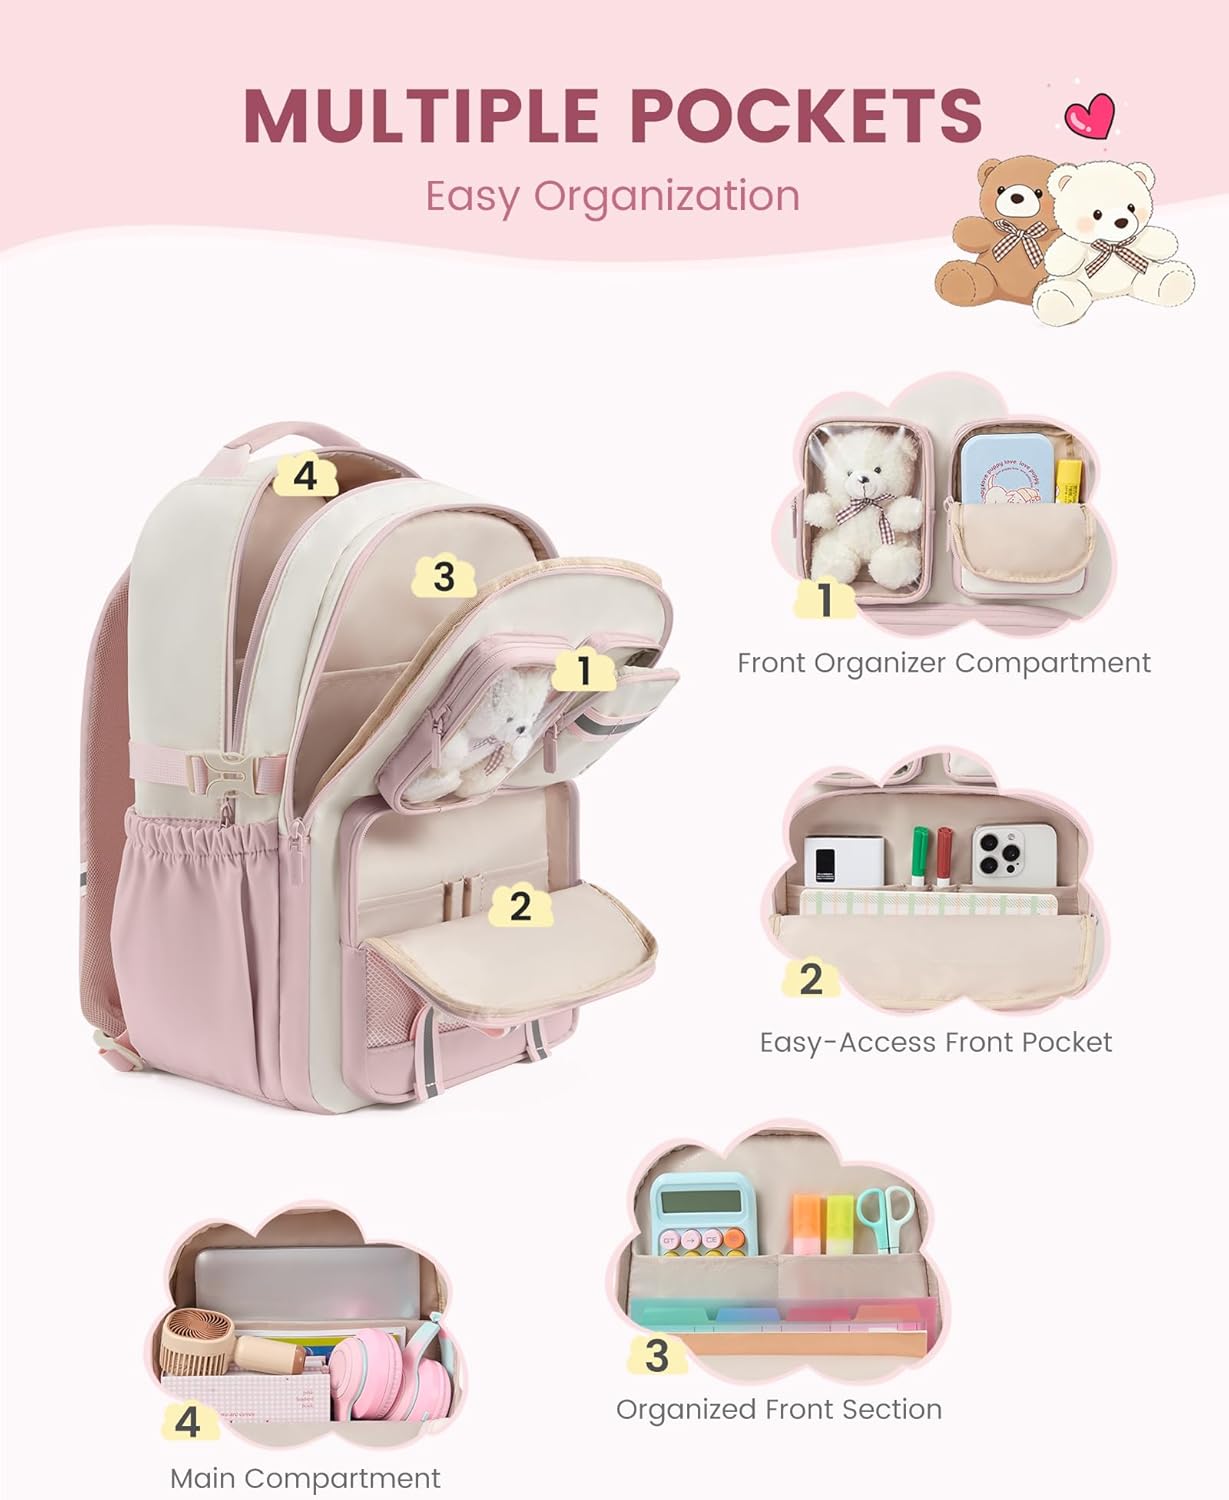
Multi-compartment daypack
Useful compartment separation keeps a rain layer, snacks, electronics, and water from colliding in one deep main pocket.
Check current price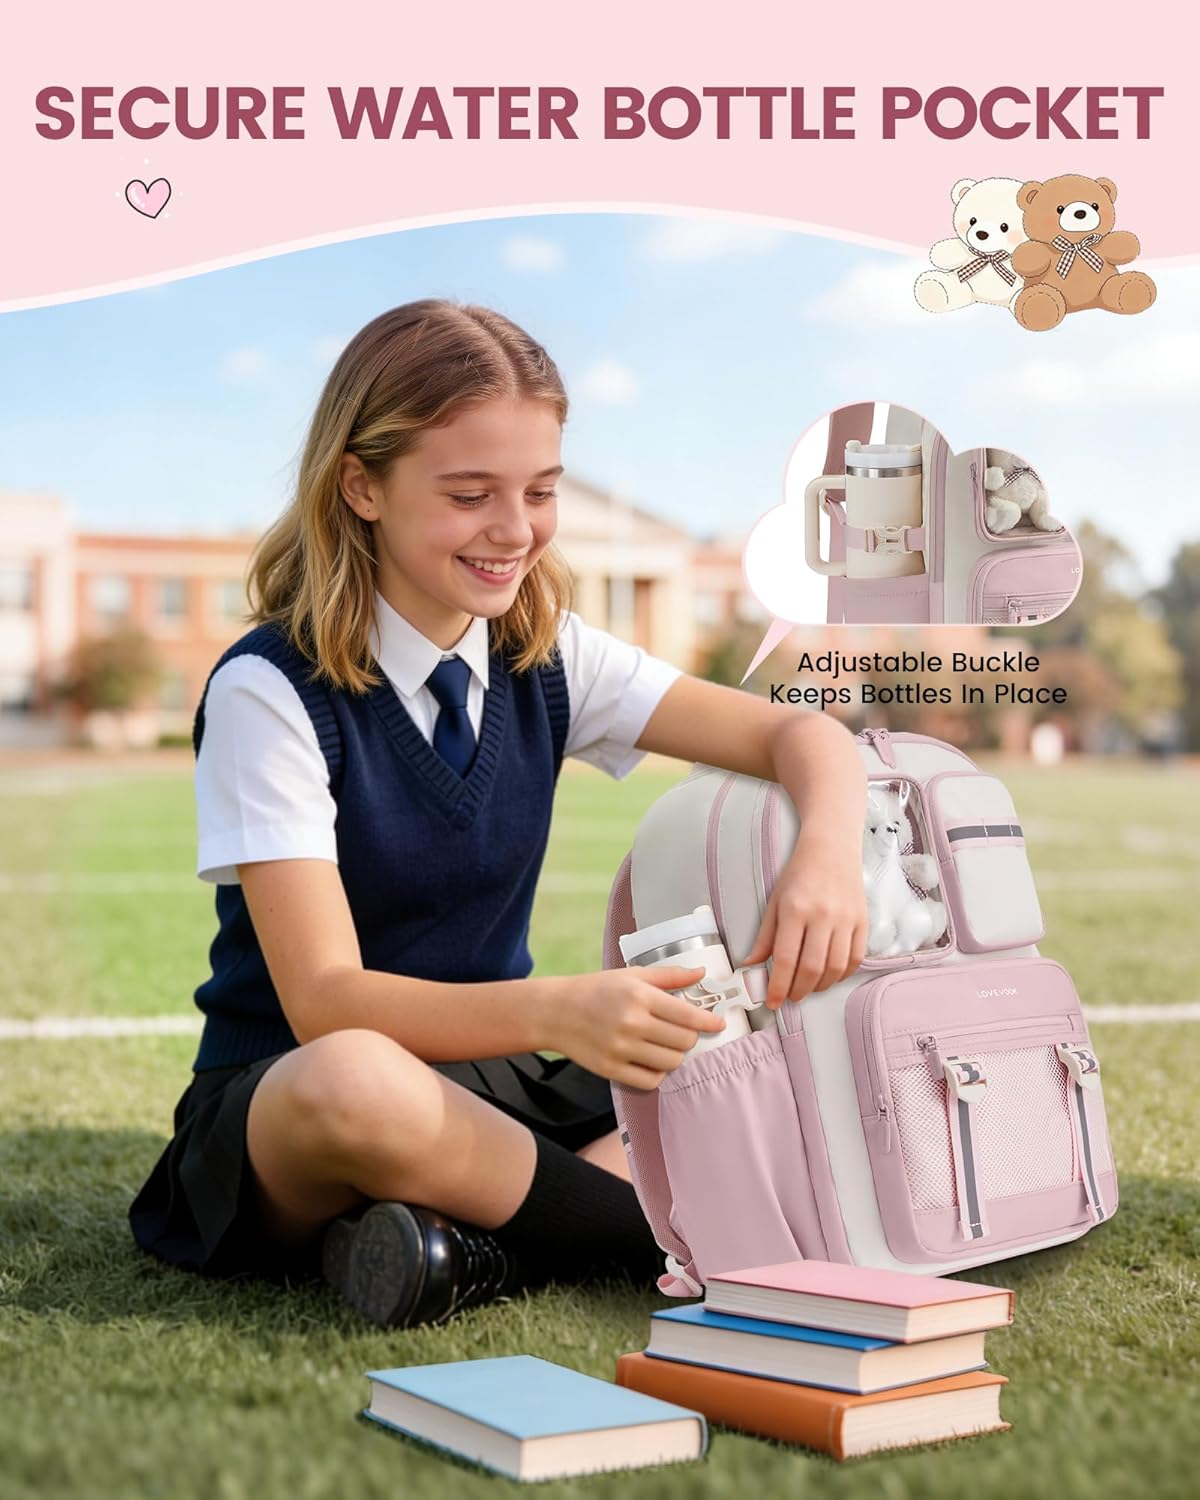
Compact trail backpack
A smaller profile suits short routes when water, navigation, sun protection, and a light shell form the core load.
Explore daypack optionsDay-hike backpack comparison table
Capacity depends on route demands. The smallest useful pack carries the required safety and comfort equipment without unused volume that encourages overpacking.
| Pack size | Best route type | Core capacity | Key packing focus |
|---|---|---|---|
| 12–18L | Short, mild-weather walks | Water, snacks, shell | Keep weight minimal |
| 20–28L | Typical day hikes | Layers, food, safety kit | Balance weight near spine |
| 30–36L | Cold weather or long routes | Extra insulation, water, gear | Compress empty space |
✓ Benefits of deliberate packing
- Less shoulder and back strain
- Faster access to weather gear
- Better hydration planning
- Fewer loose or damaged items
× Packing mistakes to avoid
- Hanging heavy gear far from the back
- Burying rain gear under food and layers
- Carrying extra items without a purpose
- Leaving navigation or lights at home
Food, water, and safety planning for a day hike
How to pack a backpack for a day hike begins with a clear estimate of exertion and exposure. Steep climbs, high temperatures, remote terrain, and slow-moving groups change the amount of water and food that belongs in the pack. A short route can still require a full safety kit when weather or trail conditions create a wider margin of risk.
Pack food that travels well
Choose foods that deliver energy without becoming crushed or messy. Trail mix, dried fruit, nut-butter packets, firm fruit, energy bars, crackers, and sandwiches packed in a reusable container work well for many routes. Separate snacks into a top pocket or hip-belt pocket. Frequent small bites support steady energy and prevent a deep main compartment from becoming a food-search project.
Plan water before leaving home
Carry enough water for the forecast and route, then add treatment capability when reliable water sources appear along the trail. Two smaller bottles spread weight across the pack more effectively than one large bottle in a single side pocket. A hydration reservoir offers easy sipping but should sit close to the back panel and receive a leak check before the trailhead.
How to pack a backpack for a day hike also includes protecting critical items. Store phone, map, and battery bank in a sealed pouch. Keep first aid, whistle, emergency blanket, and headlamp together in a brightly colored bag. A single safety pouch creates a consistent location during stressful moments and makes pre-hike checks faster.
How to pack a backpack for a day hike across changing seasons
Summer heat pushes water, electrolytes, sun protection, and breathable layers toward the top of the list. Cool-weather routes require more insulation and a dry spare layer. Shoulder seasons call for flexible clothing because rain, wind, and temperature can change within a few miles.
Place the heaviest seasonal item close to the back. In winter, that might mean a fuller water supply or insulation. In summer, water often becomes the heaviest item. Keep wet-weather protection accessible in every season. Pack a small trash bag to isolate damp clothing, protect a phone, and carry out trail waste.
Pack smarter before the trailhead.
Build a stable load, make safety gear easy to reach, and choose a pack that fits the route instead of filling the largest available bag.
Shop day-hike gearHow to pack a backpack for a day hike: FAQs
What should go at the bottom of a day-hike backpack?
Place soft, low-use items at the bottom, including a spare layer, emergency blanket, or compact sit pad. This creates a stable base without hiding frequent-use gear.
Where should water go in a hiking backpack?
Keep water close to the back and centered between the shoulders. Side pockets work well for smaller bottles when both sides carry similar weight.
How heavy should a day-hike backpack be?
Pack only what supports the route, forecast, and safety plan. A comfortable, balanced load matters more than a single weight target because body size and route demands vary.
Is a 20-liter backpack enough for a day hike?
A 20-liter pack often suits a short to moderate day hike in stable weather. Longer, colder, or more remote routes usually need more water, insulation, and safety capacity.
Why keep rain gear near the top?
Weather changes can require an immediate layer. Top access prevents a full unpacking stop and keeps the rest of the pack dry and organized.
Explore more backpack resources
Browse the Kids & School Blog, compare Best School Backpacks, discover TSA Laptop Backpacks, or find a dependable insulated water bottle.